
Behind the Scenes: The Manufacturing Process of Solar Panels Unveiled
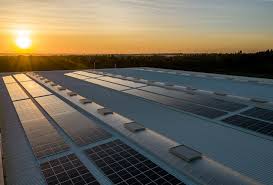
Solar power has emerged as one of the most promising renewable energy sources of the 21st century. As solar technology continues to develop in efficiency and affordability, more homes and businesses are adopting solar to meet their electricity needs in an eco-friendly manner.
But have you ever wondered – how exactly are these mysterious solar panels made? What goes on behind the scenes before they end up installed on rooftops?
In this blog, we take you through a step-by-step journey of solar panel manufacturing so you can understand the intricate processes and components involved in their production. Read on to uncover the secrets behind these silent power generators!
Step 1: Sourcing High-Quality Components
The manufacturing process begins with sourcing the essential components that make up a solar panel – namely the photovoltaic cells, glass sheets, backing material, frame, and wiring. The photovoltaic (PV) cells are the heart of a solar panel and do the actual conversion of sunlight into electrical energy. Solar manufacturers source silicon PV cells, which are tested thoroughly for efficiency ratings, tolerances, and durability. The PV cells embedded in solar panels contain silicon semiconductors that knock off electrons when exposed to sunlight. This liberates negatively charged electrons and positively charged holes, generating an electric field across the cell terminals.
Tempered glass sheets, sourced and cut into sizes, not only offer structural strength but also serve as protection for the delicate PV cells, which are encapsulated between the sheets. These specialized glass sheets, typically made from low-iron-content float glass for enhanced light transmission, undergo a unique tempering process involving rapid heating and cooling cycles. This process induces internal stresses, making the glass stronger and more resistant to both heat and impact. On the rear side, the ethyl vinyl acetate (EVA) backing material is applied to provide insulation and weatherproofing, completing the solar panel’s construction.
Aluminum frames, the ideal choice for solar panels, provide rigidity, lightweight construction, corrosion resistance, and durability. The aluminum material is easily extrudable into various complex mechanical profiles, allowing for versatile frame styles such as simple rails or box and lattice frames with drainage holes, tailored to specific structural loads. In seaside installations, marine-grade aluminum is preferred for its added resistance to corrosion. Additionally, copper wiring within the panels facilitates the smooth flow and collection of electrons generated by the PV cells during operation.
Step 2: Cell Arrangement and Electrical Connections
Once the components are sourced, the PV cells need to be arranged in a matrix layout on a glass sheet, with small gaps between each cell. This assembly is then sandwiched between the front tempered glass layer and the EVA backing layer.
The cells are carefully interconnected using thin connecting wires (ribbons), which allow the solar-generated current to be collected at the terminal box on the panel. Specialized machines ensure automated robotic soldering for reliable electrical connections.
Step 3: Layup and Lamination
The sandwiched assembly now moves to the layup and lamination process, which forms a weatherproof bond between all the layers.
The panel moves through a heat press containing heating plates. As it passes between the plates, the EVA backing material softens and fills up all the gaps between the solar cells, encapsulating them completely.
The EVA crosslinks and bonds tightly with the tempered glass surfaces under heat and pressure to create a solid laminate that protects the delicate PV cells for the next 25 years.
Step 4: Framing and Junction Box Attachment
The laminated solar panel emerges from the heat press in a solid, weatherproof state. Perimeter aluminum frames are now fixed on all four sides to provide structural rigidity.
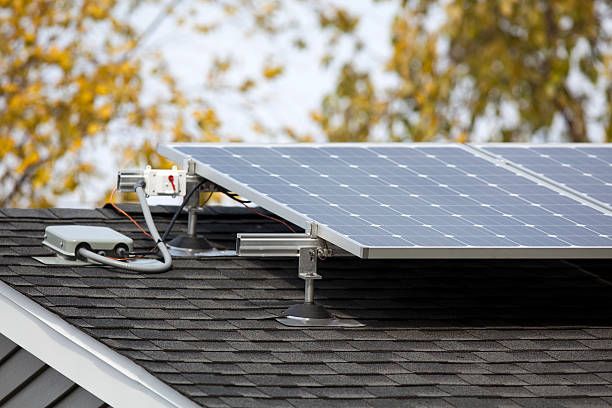
A junction box is attached to the rear of the panel, which houses the connecting terminals for electrical output wires. Connectors pre-soldered to the panel’s connecting ribbons are secured inside this box.
Step 5: Testing and Certifications
Before solar panels are packaged and shipped out, they undergo thorough testing and stringent quality checks. Their open-circuit voltage, short-circuit current, peak power, efficiency, and other parameters are measured.
Testing under mechanical stresses, varying environmental conditions, and simulated aging also ensures the panels adhere to international durability and safety standards. Certifications like IEC 61215, IEC 61730, and UL 1703 are crucial benchmarks for reliability.
Only the panels that pass testing move further in the production line.
Conclusion
And there you have it – a peek into the manufacturing ecosystem vital for harnessing the power of the sun. From sourcing components to testing finished products, each stage leverages cutting-edge technology and expertise.
Solar manufacturers like Waaree keep innovating to make their production lines leaner, faster, and more efficient at every step. Automation and quality control ensure the widest positive impact on costs, quality, and the environment. With such robust yet agile manufacturing capabilities, the future of solar certainly looks brighter than ever!
Want to directly capture this unlimited sunshine? Waaree offers you a wide range of high-performance solar panels to choose from. Call or visit the Waaree’s website to connect with solar experts and kickstart your sunlight harvesting journey today!